My dear Doublewinky asked me to do a bit of a tutorial for the boxes. So here's a start: The pattern: I have used the pictures from 'Diki' and they're not symmetrical, therefore my box is slightly off kilter. Doesn't bother me, but I redrew the pattern piece for you because I'm just like that.
Here's the link to the pictures again. I must add that I tweaked them in Picasa a bit to brighten them up.
Before you start, check out
all of the others for different shapes and patterns.
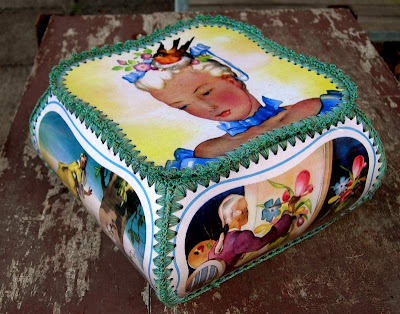
Finished!

Can you see that I have made two hinges in Buttonhole stitch?
Other boxes don't have hinges, since they're not shaped lids.


Above: Crocheting through all loops, from both edges. Do this on all seams, excepting maybe the base...

Sew the base on with buttonhole (read the instructions below).
 |
| I call this piece the 'Lip' piece, just so you know. |
Crochet all other 'seams' together.
INSTRUCTIONS:
Find your pictures. Choose your box pattern or make your own (remembering that the base and lid will be a little larger because of the width of the crochet. I calculate it after I've put it together usually). Print them out, collage them, draw them...
I use a weight similar to gift-cards. If I want to use something thin, I stick it on a piece of cereal box or something, just with stick glue as the crochet holds everything together. Outside and inside images so, twice as many as there are panels.
Now, cut out the two pictures for each pattern, outside and inside, and two pieces of the plastic. Look at
Sadie's Hanky Box, pre-assembled.
I collaged the 'Lip' piece from parts of the story (most boxes don't have this bit, but this particular box needed it).
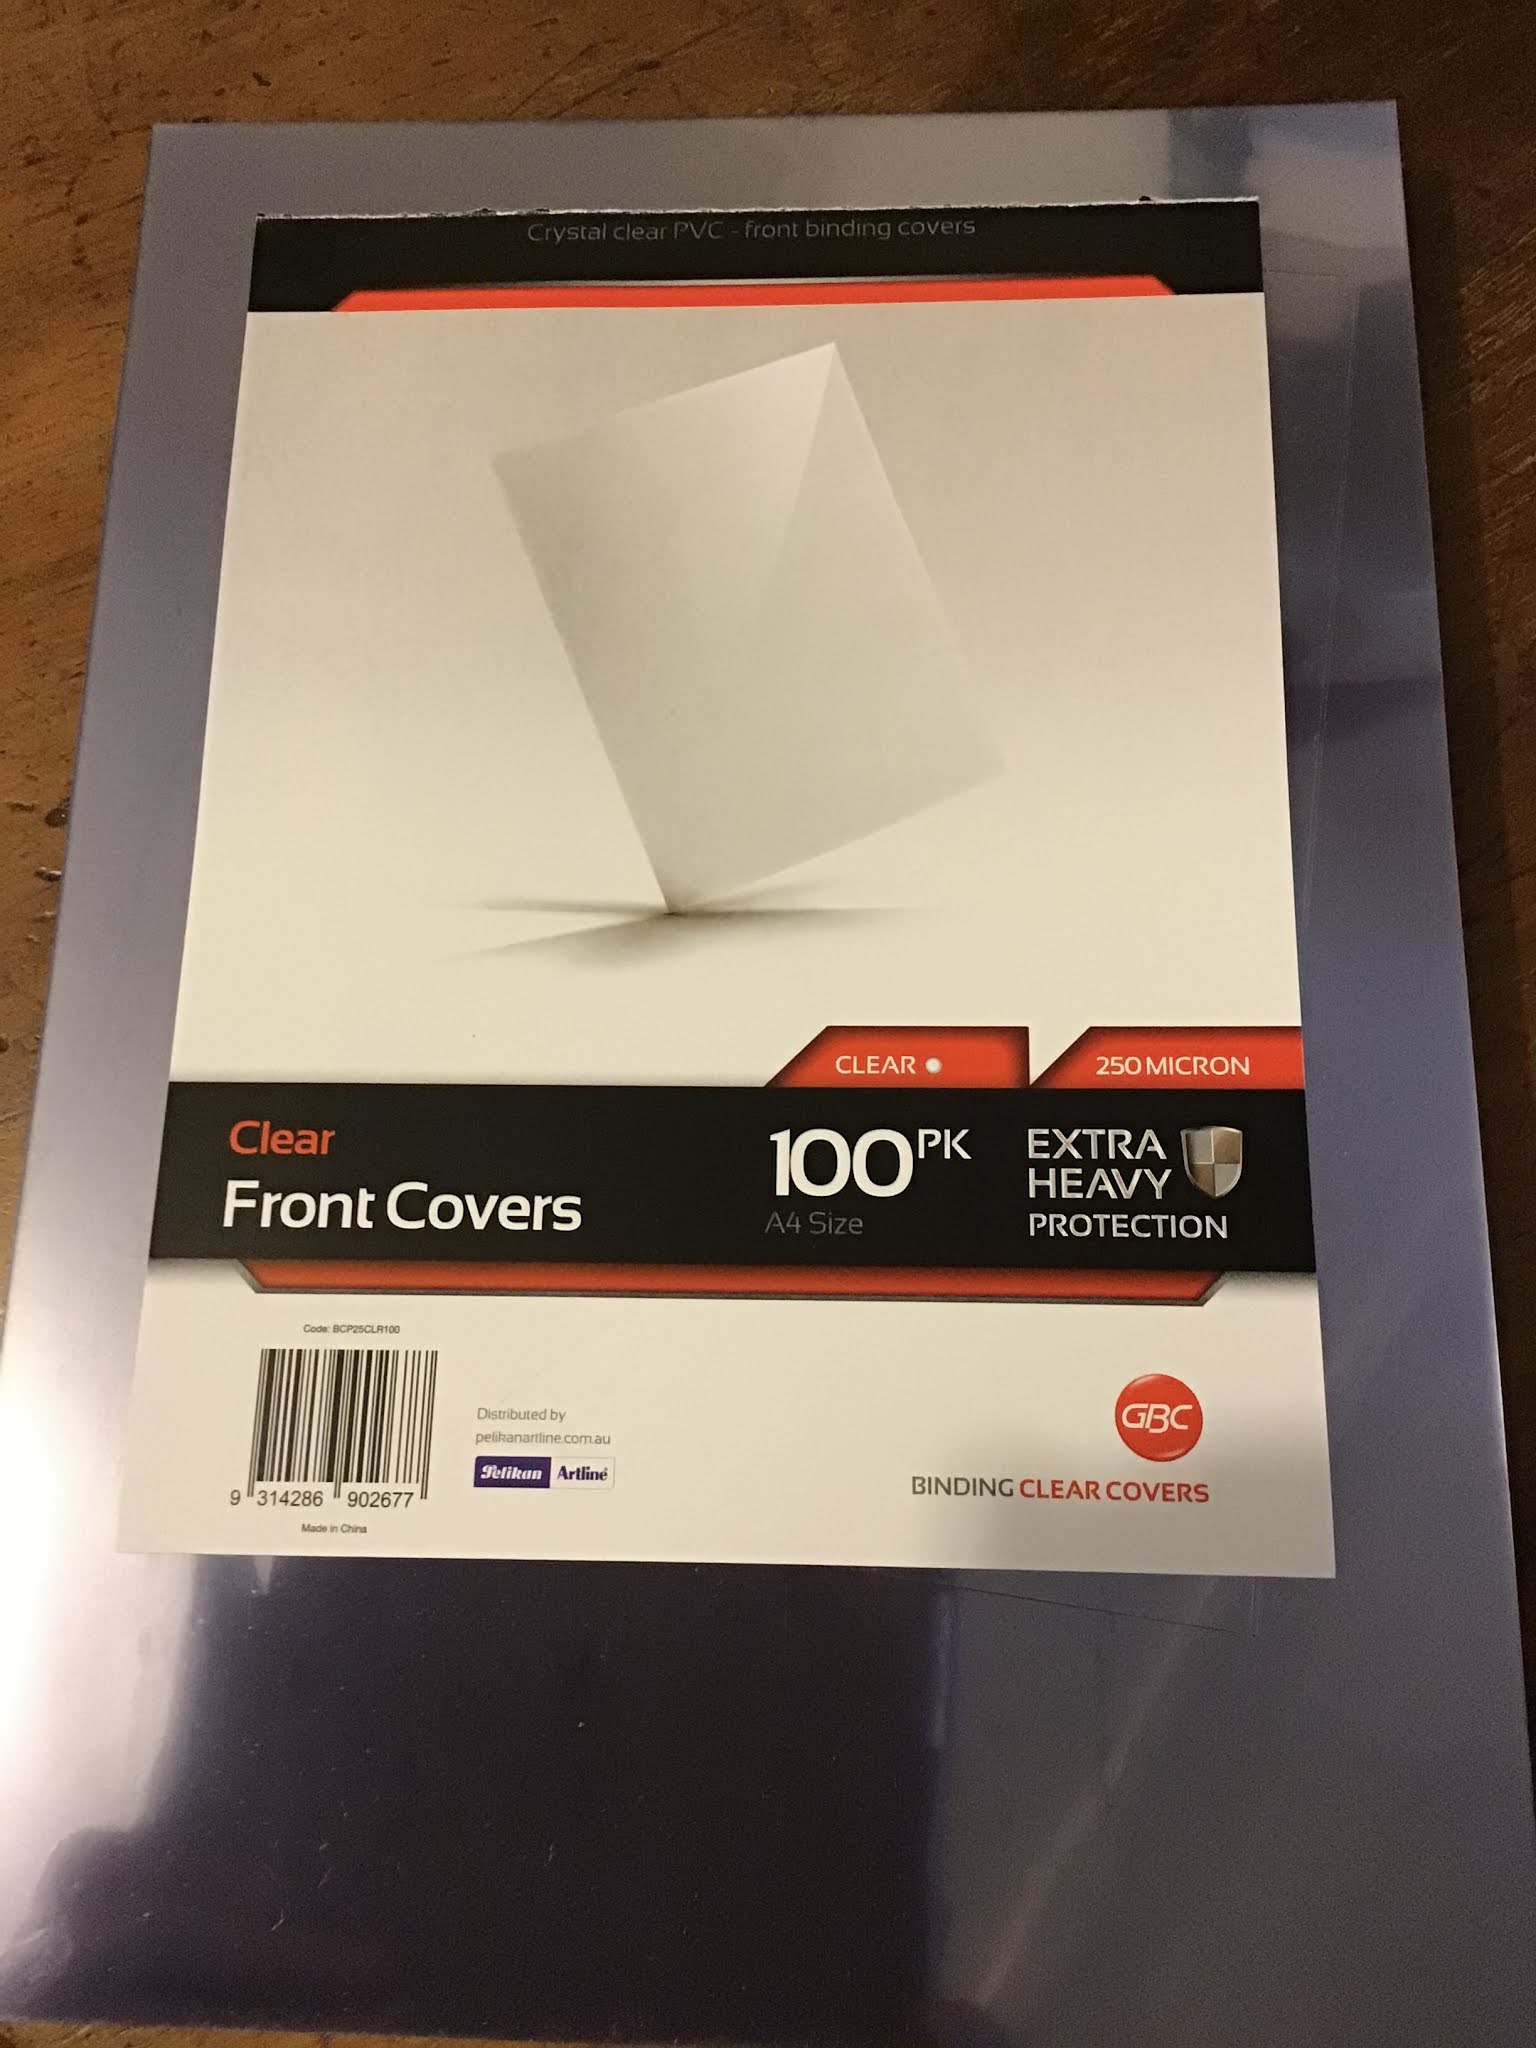
NOTE: The plastic I use is available at Officeworks (in Australia). It's some kind of Project Cover stuff. It comes in packets of 25 or 100 I think. Stiffish plastic, like shirts used to come in, in the olden days of my youth. They're NOT laminated.

Found it!
Clamp them together and pop the holes all around... hmmm... maybe 8mm apart and into the edge... ish. With 3mm or 1/8"" hole puncher. I found one
Here. A hole punch that is. (EK heavy duty 3mm hole punch).
Using crochet rayon or a similar weight (in this box I used 4-5 machine cottons to get the colour, but one thread is way better, less fussy and catchy).
Work with
single crochet stitch, do 2-4 in each hole, depending on how thick your thread is. I usually do 3. Do all of the pieces. When you go around the corners, just work 6-8 single crochet stitches into the hole. They pull straight when you assemble. You can snip the pointed corners off a little if you like (I don't), they can poke out a little/I don't bother.
Tuck/sew in the ends of your thread.
Do the same stitch to join the sides, taking in all of the loops. All right... look at the photo and you can see the edge of the crochet has a chain, yeah? On the sides, go through all 4 loops. Join the four sides together in the order you want them. Finish the ends in. Be generous around the curves... all of the pressure is there. But it's a no brainer and old folks recovering from major strokes have made these successfully forever, so chill!
Next, pin the base in position and HAND STITCH it on, using a Buttonhole (i.e. Blanket) stitch, leaving the outside loop free to make it prettier. Look at the detail photo and the diagram. You can crochet it of course, but stitching is easier and less awkward.
Having already crocheted both outer and inner edges of the Lip, pin it in position and crochet around the outside edge. It's a bit fiddly but you'll be right. If your box has no lip, then crochet around the top edge of the box, that is across the tops of all of the panels in one line.
Now, position the lid. It will only be joined in two sections (look at the pictures above). I did a Buttonhole stitch to join it, leaving the top-most loop free so you can crochet the Picot stitch around lid after it's sewn on, as in the bottom bit of the diagram. A non-shaped lid will be crocheted along the joined edge, adding the picot after (or you can do the edging of the lid, then sew on the finished lid to the finished box, either/or).
RIGHT, you're up to the finishing touch! I want to say that I avoided doing these boxes etc. for ages because I thought it was hard and I didn't know how to do Picot... but it's EASY!!! Youtube is a beautiful thing!
HERE is a link to Picot stitch, however, I tend to do it a little differently so I'll have a hunt... this is fine though don't worry... or invent your own variation (accidently or on purpose).
So... work a row of Picot around the whole of the lid. Start at the back somewhere, maybe on a corner, and when you come to the hinges, work into the top loop that you have left.
CAUTION: Originally I messed up the lid!! I had the pictures the same way up... I'd crocheted around it and everything, then realised (as I prepared to put it on) that when you lift the lid up, the inside picture would be up the wrong way. OUCH!
Find your Grandmother's button (I haven't on this box). Sew it on through all layers, adding a scrap of the plastic or another button on the inside for strength.
On the lid at the corresponding place (above the button), join a length of your thread and make some kind of cord or chain, adding a bead to the bottom, as a closing device. Look
HERE for a detailed picture
Now, go and buy yourself a beautifully scented soap and put it in your box with all of your inherited handkerchiefs or special treasures. I've put mine away for a few weeks because I can't see its beauty at the moment. Familiarity and all that. But I am happy.
xxx
Oh, and I want photo's of yours please.
P.S. Let me know if something is not clear, huh?
P.P.S. My Hanky Box has been in use with all of my inherited and bought hankies for ages now. I have lovely hand-made soap wrapped at the bottom and enjoy it every day. 'Which hanky will I use today...Hmmm', each time I pause to decide!