Showing posts with label Crochet. Show all posts

Saturday, August 15, 2026

Steeks: The Crocheted Reinforcement


A steek is a bridge a ‘bridge’ of stitches over what will later become an opening for an armhole, cardigan front or neck. The purpose of a steek is to enable knitting in the round, thus staying on the right side, rather than having to knit back and forth with purl stitches on the wrong side. This is particularly useful when doing colour work or complex designs. The steeks are later cut up the centre, leaving a seam.

Don’t be daunted by the cutting. Everyone will tell you that it’s easy and that you’ll never look back, because it’s true. You will never look back, having tried it once.

Whilst knitted cloth unravels across the rows, rather than down the columns, slippery yarns will still fray and need to be dealt with before cutting.

Note: with sticky Shetland or Scandinavian type wools, you can felt the steeks or simply make a running stitch either side of the centre column before cutting, or do nothing at all until the garment is complete.
Search in the labels 'Glossary', 'Tutorials' or 'Knitting' or go HERE to see the post on Steeking With Sticky Wool. 

The crocheted method is to make a chain along both sides of the central stitch. It's drawback is that you make a slightly bulkier seam, which can be averted somewhat by using a finer yarn than in the garment.

I have added 7 steek sts.

The reinforcement line is made through one leg of the centre stitch (column 4) and one leg of the stitch beside it (column 3 or 5). That is, you crochet together half of the centre stitch and half of the adjacent stitch, with the hook pointing into the centre as shown in the diagram above.

To secure the beginning, make a slip knot, then pop it on the hook. Put the hook through at position (5), then wrap the yarn around so you encompass the cast on edge. Hook it through the slip knot, making the first chain stitch. Now, following the arrows, slip the hook through one leg of column (5) and 1 leg of the central stitch (4), wrap the yarn around and pull it through. Continue up the column, with the hook pointing towards the centre as you see on the diagram.

When you reach the top, catch the cast-off edge.

Cut the yarn with enough tail to sew in and pull through the remaining loop to secure. Turn and repeat down the other side.

The centre steek stitch now has been reinforced, with half of it in each row of crochet. When you pull these rows apart a little, you will see a ladder between them. With care not to snip the reinforcement, cut through this ladder.

Trim or tidy excess after blocking. Once the sleeves are finished, you can stitch the seam in place, being careful to allow room for movement and not stitch through to the right side. For this, a light whip stitch will suffice.

Note: You could work the crochet lines one column across on each side, to give a narrower seam. Pick up one leg of column 6 & 5 or 2 & 3 instead, leaving column 4 free. You will still cut up the middle of column 4, then trim what will be a little more debris, after blocking.

Monday, May 09, 2022

My Neighbour's Family Treasures, Part 2.

 These embroidered cloths are from the home (pictured below) in Dunblane, Scotland that was a family holding of my neighbour Al McInnes. The same family responsible for the horse shoe jumper posted some time back (on Facebook, but also pictured below).

Young women of old were required to have a basic repertoire of needlework skills and to produce embellished tableware, bedding, undergarments and children’s wear for their families. Starting before marriage with their ‘hope’ chest and with school samplers, these amazing skills we now cherish and continue, though without the expectation. I'm sure the love was always there, in the making, but op shops are full of old doileys (for example) that nobody wants (except for all of us) and nobody uses (except us).

I’ve always been hugely inspired by what my foremothers considered the ordinary, basic skills of their domestic life. 

We watched our grandmothers and the old women knitting and ‘doing’ the whole time and thought nothing of it, not realizing the incredible structural engineering and intricacy of such ordinary crafts. Obviously we do understand it. Obviously we knew what we were looking at but I've had many a comment about my embroidering or knitting being a granny's thing to do. Not as cool as painting or printmaking (which I love). I've had plenty of eye-rolls when people ask what I've been up to. The whole craft world has gone (largely) under the radar of the art world and this might be the boon! The incredible disguised as the ordinary.

My ‘If I was stuck on an island and had to choose one book’ is the Encyclopedia of Needlework by Theresede Dillmont. In it are all the things you will need as a conscientious home-keeper. My copy is worn and earmarked and precious.

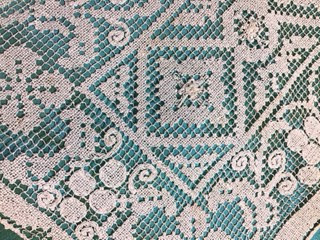
It's difficult to see with my rubbish Ipad camera (I have a whiz bang camera still in the box waiting for me to grow some whatsits and fire it up). This piece of Netting Work if the only I have ever seen where the net is hand knotted before being embroidered.

Even what may appear to be a simple dinner table or bread basket cloth has a lot of work involved. These edges were compulsory fare when I started High School. Sooo boring, I thought then. But underneath it I was interested and henceforth noticed the work in these everyday objects. Respect!! It takes forever.

The embroidered band here reminds me of a (much borrowed) book on Yugoslavian embroidery, which I used in my crazy quilt.


Another dinner cloth with hours and hours of edging work. Each leaf will be pad stitched underneath before the satin stitching on top.


Dunblane, Scotland. The Horse Shoe lace jumper below was made here too.


Thanks to Al McInnes for sharing these amazing pieces.

Saturday, June 05, 2021

The Evolution Of Hanky Boxes Into Yarn Bowls And Beyond

This time, after shoving my yarn baskets into dilly bags (because it’s handier to work from a bowl than a bag, but you can’t carry them about....) I thought I could combine forces and turn a bowl into a bag.
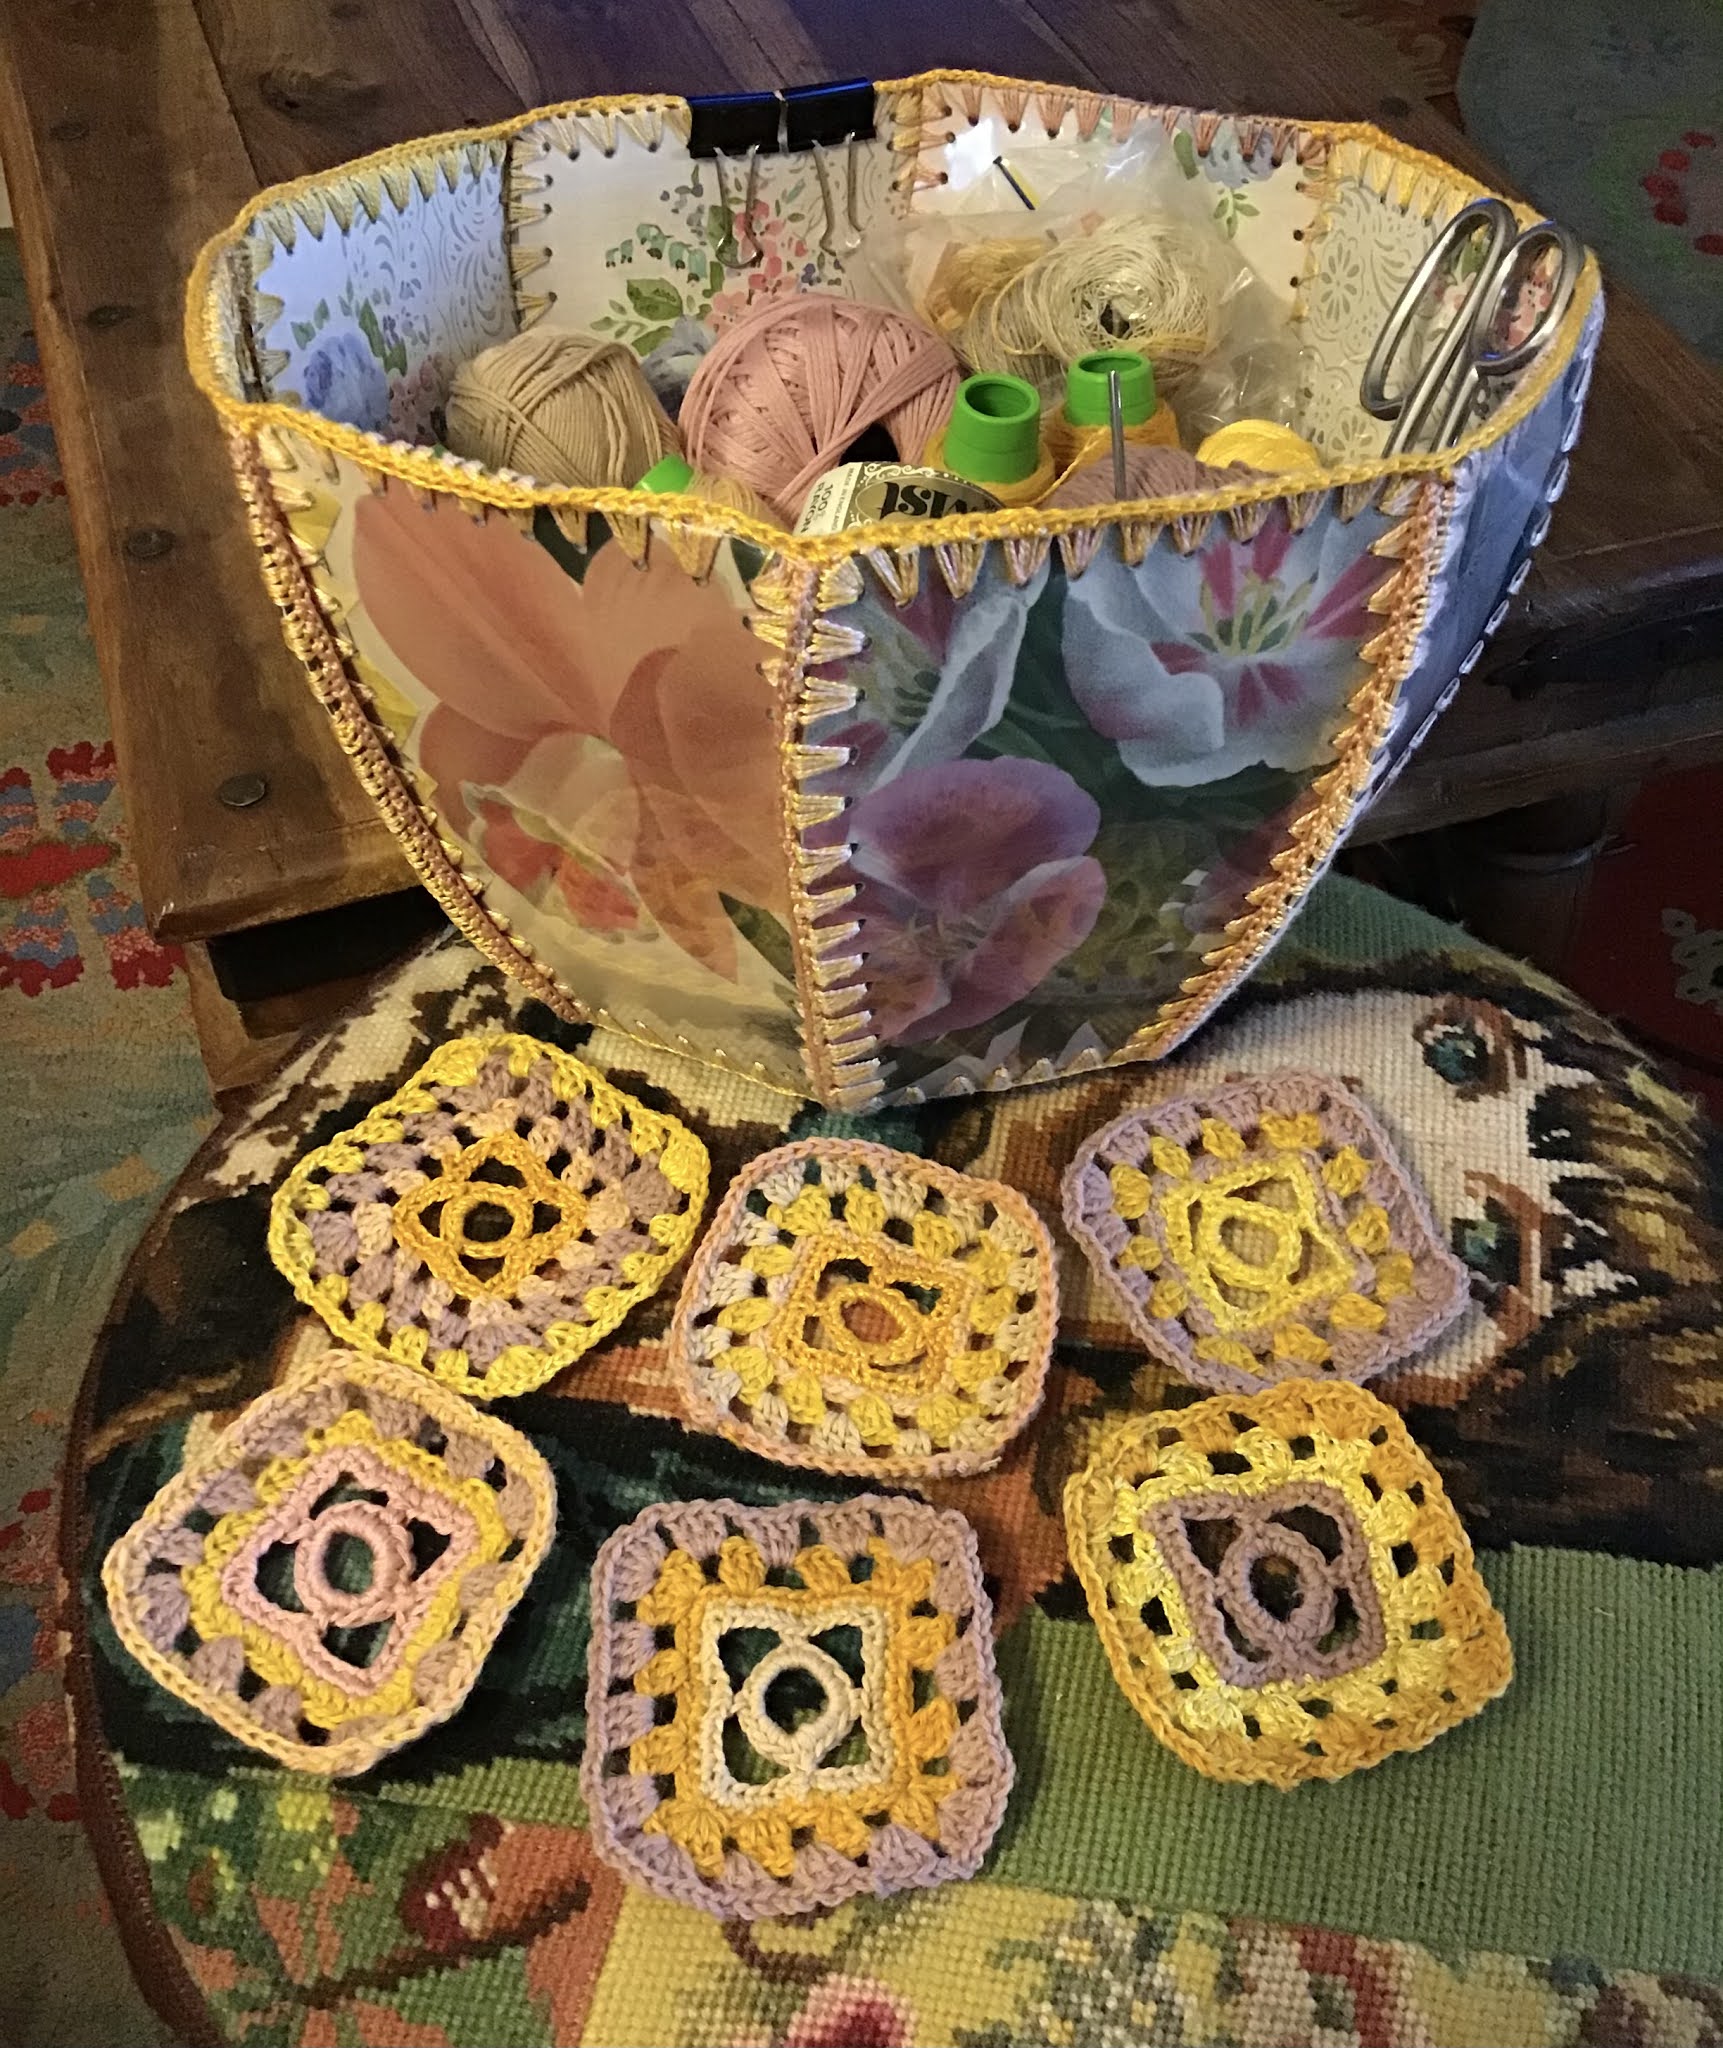
So, this bowl is fairly big, 17 cm high and 30 wide, and I’m making some granny squares to sew around the lip. Not quite sure after that. I’ll do some crocheted rows maybe before and after then a strap or two. I’m sure it will become obvious.
This was a calendar and is lined with old wallpaper. I’ve also used a heavier card to make it quite sturdy. 
All this because my knitting requires concentration to fix a mistake. Good old procrastination huh?
Everything is from my stash. Using up embroidery threads, Australian Tapestry Workshop wool, crochet cottons bought years back for face washers. Oh, plus some new Frangipani gansey wool, which is sturdy and a gorgeous dusty pink and will be great as the handles etc.


Monday, January 11, 2021

Two Would Have Done It But Bad Luck, I Made Three

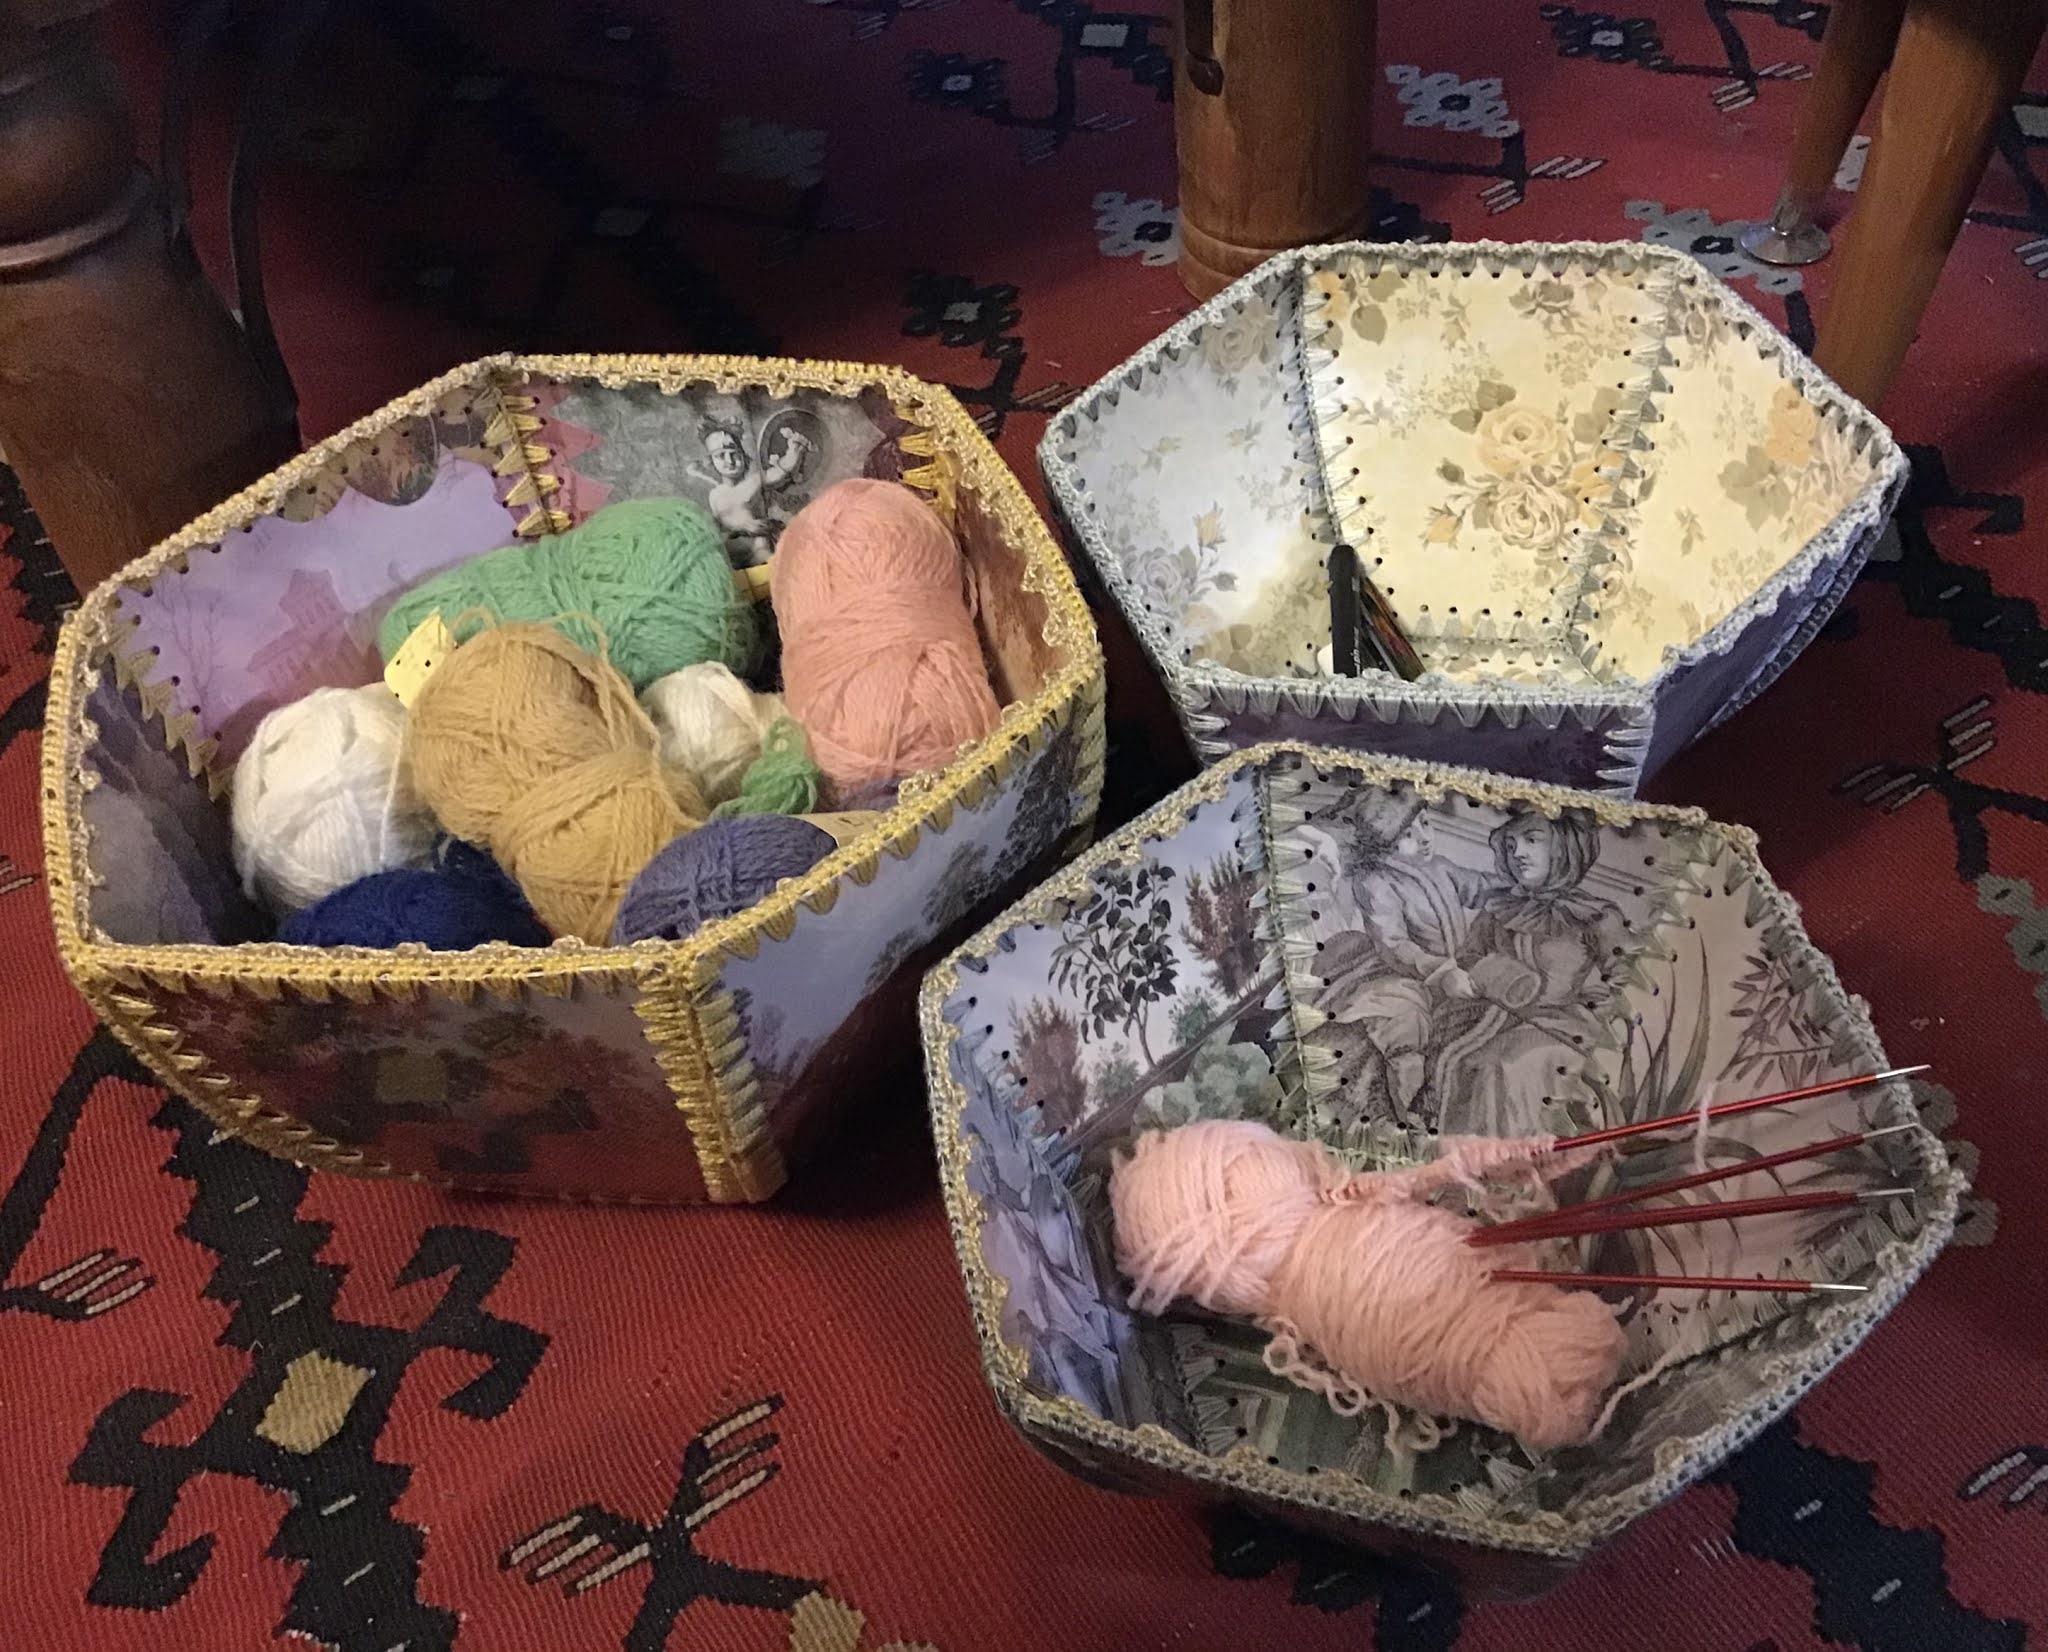
These are very handy. One bowl for the bundle of colours (fair isle cardigan with 9 ish colours) and another for what I’m using, sitting on my lap or table. Stack them together out of the way later. 

I’ve taken to making new boxes and bowl as holiday projects, ignoring my huge list of things I have started, want to do and plan and just cutting loose. Ignoring the fact that I have more boxes than hankies. 


Follow labels below to tutorials, materials lists and patterns.
Or go HERE.


Sunday, January 10, 2021

Berlin Wool Work Picture For The Shed Wall


I so love the Victorian Berlin wool work patterns. This picture was printed out (A3) then glued onto heavy cardboard, which is a bit of a pain to crochet but it’s also not a big job. I forgot to photograph the back but will after it’s stretched and the lace has dried.

My crochet is awfully ad hoc and obviously uneven, but I’m happy. I’m using up my perle and crochet thread stash. 

The picture is for the Bus Stop shed up in the garden. Or the kitchen, not sure.

What I want to do is paint a wash of dilute pva glue over the lace to completely stiffen it... but am not sure how to do it without glueing down the backing. Maybe cling wrap? Maybe that will pull off easily?

Or, I could lace it to four sticks, crossed at the corners. Hmmm... I could lace it to put the glue on... right...

Follow the labels below for tutorials, patterns and materials to make crocheted card (boxes) etc. if you want to. 


Friday, January 01, 2021

Just Did It.

 Following on from the last post...


It’s quite a good size, maybe could be a little lower? I might cut a nest of them to fit inside each other. They’re good have on your lap with the knitting. Better than a bag like when you go somewhere.
Once again, follow the label Crochet or Tutorial to find patterns, instructions and other ideas for your crocheted card experience.


Thursday, December 31, 2020

Relaxing Indulgence Crafts. My New Knitting Bowl.


I found a book of fancy repro etchings, for $6 or something (ages ago) just for this sort of purpose. But you can use anything... photos, book covers, musical scores, art books, kids drawings...


This set of yarn bowls is different than the last one I made, or the last couple. No lid for starters. The lid is annoying on the last one. I never ever use it as intended (for yarn to come through). Ever.
For a tutorial to make these in any shape or form, go HERE and for lots of other crocheted card thingy's I have made and drawn patterns for, go HERE.
If you print out the diagram at A4 it should be right. I don't think a bit different will matter much. Then, slice 3-4mm off the sides and lower edge of the side and off each side of the hexagon. This makes the medium sized bowl. Repeat for the smaller one. I decided the big bowl’s sides we’re quite high so took 10mm off the rim for the medium and a further 4-5mm for the smaller.

Go to the next link for more pictures of the three sizes in a subsequent post: