Showing posts with label Hooked. Show all posts

Wednesday, July 29, 2020

That’s It!

I’m amazed at how much difference the binding makes. So I’m finished. 24th  May 2015 until 29th July 2020. You won’t have to look at my incessant progress reports anymore!
220cm long x 112 cm wide.
Is binding the absolute worst part or what!
I’ve placed it forward f my last try out. Looks better but I think it will be for  my bedroom or front hallway, when we get one?
Thanks to my rug hooking friends comments too. Much appreciated!


Friday, July 24, 2020


I’m not going to think about it anymore. Just need to bind it up and bung it under the chaise. Not thinking... 
Like... yes, I know the colours don’t directly relate to the chaise, it’s a separate stand alone. Goes with the cushions. And I’m already imagining a swirling mass of Pompeii style gold octopus or frolicking deer and flowers picked out from the upholstery... hmm, sounding good... That would compliment the beautiful piece of furniture better. Sigh.
And if the background was a green grey, rather than duck egg... Or golds with a subtle sky at the top/back...
And let’s face it, a rug at least a metre longer and wider... which wouldn’t fit in the house by the way.


Monday, July 13, 2020

I Thought I’d Be Finished This Weekend! But...

Apart from the binding, I really thought I was nearly there... and I am, in the scheme of things. But laying it out shows I have a way to go.
So, to decide:
Do I like the oval shape? I guess I won’t know for sure until it’s in situ. Bit meh at the minute. Too... clean lined or something. Pukey?
Still not completely sold on the apricot either but same, situ will tell. I will change it if I don’t. None of this ‘Oh Well‘ business when you’re looking at it for evermore.
It’s a bigger! I could lay down and stretch my arms up in the air and still be on it just about. And I’m 5’7”.
I feel like the flowers along the sides work (like the green) to make a textured fabric (visually) rather than dominate. Hubby pointed out that I tend to use similar values together in patterns. I’m not sure if he thought it a good thing (as in, you hardly notice it). I hadn’t pondered it before but, wanting a large, neutral background, it can be a bit boring if you do it all the same, even if it’s mottled.
My friend Chris made a large rug, shown (badly) below, and you can see her excellent background. It’s subtle but very effective.


Anyhow, here I am. I think if I decide to make it a rectangle, I’ll do the corners in the same orange dots of the centre. Hmm, that sounds like a bit of a plan? 

Monday, June 29, 2020

Feel Like It’s Working Out OK?


I’ve been working on this a lot lately. You know how you need to do a fair bit of something before you decide if it looks ok or not? Well, those side flowers... around the orange dots... I struggled for a good idea to fill the space, because something needed to happen. I feel like it’s worked, in as much as I didn’t want another ‘thing’ happening, but the plain greys looked boring and vast. This gives a subtle, soft and pretty vibe to the sides. So, I’m happy. 😊 Not sure what colour the centers of these little blossoms will be. Red might be a bit much? Or just right. Fortunately it’s not much hooking to try a few different colours.
That’s a question by the way. Is red too much? There’s only one with a centre, see? Waddya say?
Or maybe the pink ones could have blue centers and vice verse. Hmmm...

The blue of the new side blooms kind of vanishes, but its ‘glow‘ is the effect that feels right. It’s there and not there.
I’m busting to start my next design. I’ve been drawing and redrawing for the last week or more. Weeks. At work, keeping away from everyone else in a little room. Waiting to do the actual work I’m paid for is way more fun. If we’re quiet, then I’m taking the opportunity and running with it.
I bought a scrap book, and have been pasting printouts of the moods I want and any references etc. It feels as fun as primary school. Old school cut and paste.
Another thing, I want to make chaise coasters to stop the legs marking the carpet after it’s finished.


Monday, June 15, 2020

Decisions On The Chaise Rug


I’ve been steadily plodding away at this rug and now have to decide about a couple of things.
Firstly, the blue in the centre of the larger floral motifs is from an old cardigan (meaning it’s not dyed wool and has a different cast) and the colour seems too strong. I might change that and use the same as the other flowers. Yes...
Secondly, maybe the pink and probably the oranges in the larger motif doesn’t feel right. Either or. I’m not sure whether to bring the pumpkin into them? Mmm... Or is it just the lighter, candy orange one (nearest in pic above)?
Sitting here on the verandah on this gorgeous, mild winters’ day, I see there’s a clash that offends me. I’m just pondering out loud and inviting you to suffer along with me.
I don’t care what anyone says, I like the green.
You can see I’ve made a dogs-breakfast with my scribbling in figuring out the background. I tried adding a swathe sort of thing in subtle but different colours, which looked wrong... then I added raised spots with the background colour. They looked amazing but not for here. It was way too much and it’s already too colourful for the poor One True. Good idea for another rug... just raised spots in one colour. Like those moss rugs.
So I’m stumbling through the fog of an idea to use only background shades to suggest foliage, inter dispersed with dots that are not raised (I’ve started but the floor really really really needs vacuuming and my hand hurts).
Or, just work in a direction, with lines flowing out as the now defunct swathes suggested.
Excuse me for boring you to tears, and please, feel free to butt in. 
But you might be pleased to know I’ve decided stuff just in talking it through. Thanks.

Saturday, May 30, 2020

Hall Rug Inspirations

I figured out the middle, fish. I had drawn a dove but it looked weird upside down so left it blank.
Hubby is a keen fisherman. KEEN. And looking at ancient mosaic floor images I caught the vibe!
Inspired also by Heronimous Bosh and his weirdly scaled creatures...
I’m busting to start and determined not to yet.

I need to slightly tweak the fish so they read from both ends and have no  right side up.
Follow the tag ‘Hall Rug’ for a progression.


Monday, May 25, 2020

Leather Rug Hooking Gauntlet Pattern


Make sure to do a backstitch section at the edges. Notice I have left the unseamed edges raw, being leather. Just noted in case you want to hem.
To protect my hand, wrist and forearm from the nastiness of Gripper Strip rug frame injury, I made a single gauntlet using soft leather. I find it easier than using the cover and I can see the whole of the area I'm working on.
I have (or am about to) put the pdf  files on The Victorian Rug Makers,Yarra Valley Group Facebook, so you can download the actual size. If you search 'gauntlet' you'll find them.
I have broadish hands but thinnish wrists. I suggest you adjust the pattern with paper and sticky tape before cutting into any leather. Or run it up in calico.


Friday, May 22, 2020

Right, The Chaise Rug Saga... What Next?


Jo Franco asked me to show how much I'd done and it's at a good point to regroup anyway. 

Right, well, firstly... This rug is to go underneath an old chaise, hence the 3D effect on the dots. The legs go in the middle of the space in each corner, so the 3 outside 'flowers' surround them.

I can see I need to actually lay it out under the chaise, sigh. Boring! (Update. I did and I'm very happy with everything as it is. Phew!).
Question to myself (and to you): I'm not sure about the green anymore. There's a clear green in the ancient Bulgarian rug which will be in the same room, but the green blanket I've used is very clean and crisp. It might need to be removed. While I'm at it, I'm not sure about the apricot either! But I'll wait on that one. And the larger flowers' centres.
Answer: The green glows and picks up on the shine of the French hand-loomed silk upholstering. There's a story behind this chaise too...


This is the first rug I did, which inspired the newby. I love these dirty greys, but made the new one  more duck egg blue. Nice. Very happy about that. But I'm noticing how earthy that one is and I like that. This one is getting too candified. Buggrit! Bit depressed but I'll push on through!The dirty pink works nicely so maybe I need to replicate that mood. I already said buggrit!
These dotted lines are more subtle.


You can't see well with these photo's, but all is well, it looks good. I made coffee so I could sit and problem-solve, putting my big person pants on in case I really needed to pull a lot out and do it again. But no.. I'll just plug on.

I think the ends can be oval. The chaise may end up anywhere after the renovations and the rug neds to be a frame for it plus fit against a wall or in the open. Plus, I might replicate the leafy swathes as on the frst Uzbekistan inspired rig and as drawn on the fabric. Not sure what colour yet.
Thanks Jo! If you hadn't asked, I wouldn't have gone through this experimant and may have sunk into depression!


Monday, April 13, 2020

Plans For A Hall Rug

I was given a couple of hessian coffee bags and the size lends itself to being a hall rug. We’ll have a hallway when we renovate. It’s a bit over 2 metres long.
I’ve collected designs on Pinterest for some time and made a Short List folder and the feeling became clear. The pictures are largely German folk paintings but remind me of Heronemous Bosch, a favourite. Maybe it’ll change more, who knows? It’s not hard to over draw.
This time, unlike the footy rug, I’ll use colours that fit with how we intend to decorate. Old colours I suppose, though these things change. The figures look a bit cheesy here, but I can imagine them subtlety done and not dominant. No hurry though, I have the other rug to finish. Oh, two other rugs.
Look here.https://www.pinterest.com.au/robynemelia/rug-hooking-inspiration-for-rugs/hall-rug-short-list/
I want to use old clothes and my fabric stash, not wool.


Monday, January 27, 2020

Night Footy at the G


80 x 80cm.
Finished for real this time. I redid the sky and it looks more muted in reality. 
Made using Dad’s, Mum’s, Grandma’s, my own and op shop clothes with other bits and pieces from my stash.
It did occur to me that if I made the Geelong jumper into a St. Kilda one, the family history would come fully into play. Grandma, Mum and I were Essendon and the boys were St. Kilda.


Geelong is out front but Essendon has the ball!


Dad’s jeans, jocks (not worn more than once or twice) and t-shirts, mine and Mum’s undies too ha ha ha! Only the decent bits of course. And Grandma’s green dress and purple jumpsuit.
I don’t know where to put it really. It doesn’t fit with the house, I just liked the drawing done by Paul Constance at work and wanted to make it.


If you look closely at the mix of fabrics used, you can see it’s possible to use anything.


Paul Constance’s little,drawing.


Friday, September 27, 2019

Melbourne Show 2019w

We did it. The Melbourne Show for one day. It sounds simple, pack a case, go to show, demonstrate rug making...
There is always a lot of interest in rug making. We didn’t have our big proddy frames and it’s these proggy/clippy/peggy/proddy rugs that the children like to try. However Anne had a standing hoop frame for quilting so managed to let folk have a bit of a go... and lots of people watched or tried hooking too. Plus I got along with my Uzbekistan style rug #2.
It still surprises me that Rug Hooking is so little known in Australia, considering how it parallels quilting in the USA and always has.
But, we did meet Lee, who plans to come on Sunday, so slowly the group is expanding! And we have Veronica as well so that’s two more.

On the way in I bought a coffee at Belgrave’s Blacksmith Cafe and the lovely Alex was wearing this amazing cowl. Her grandfather had spun the wool and she had crocheted it herself. It is done in Crocodile stitch. It was so gorgeous and unusual I asked if I could photograph and post it. Thanks Alex.
I keep meaning to say that another old friend Jennifer Walton, who lives in Far North Queensland, is now a long distance member of our group. Jennie went crazy on tugging after a visit down to mine a little while back. I gave her Miriam’s excellent book and that’s the end of her!
Jen is onto her second rug, this time a hooked rug. She has a good eye as you will see. Pics to follow.
(Too lazy to come and bring a plate, obviously).

Sunday, September 08, 2019

'Blossom'. Reposted From 2013

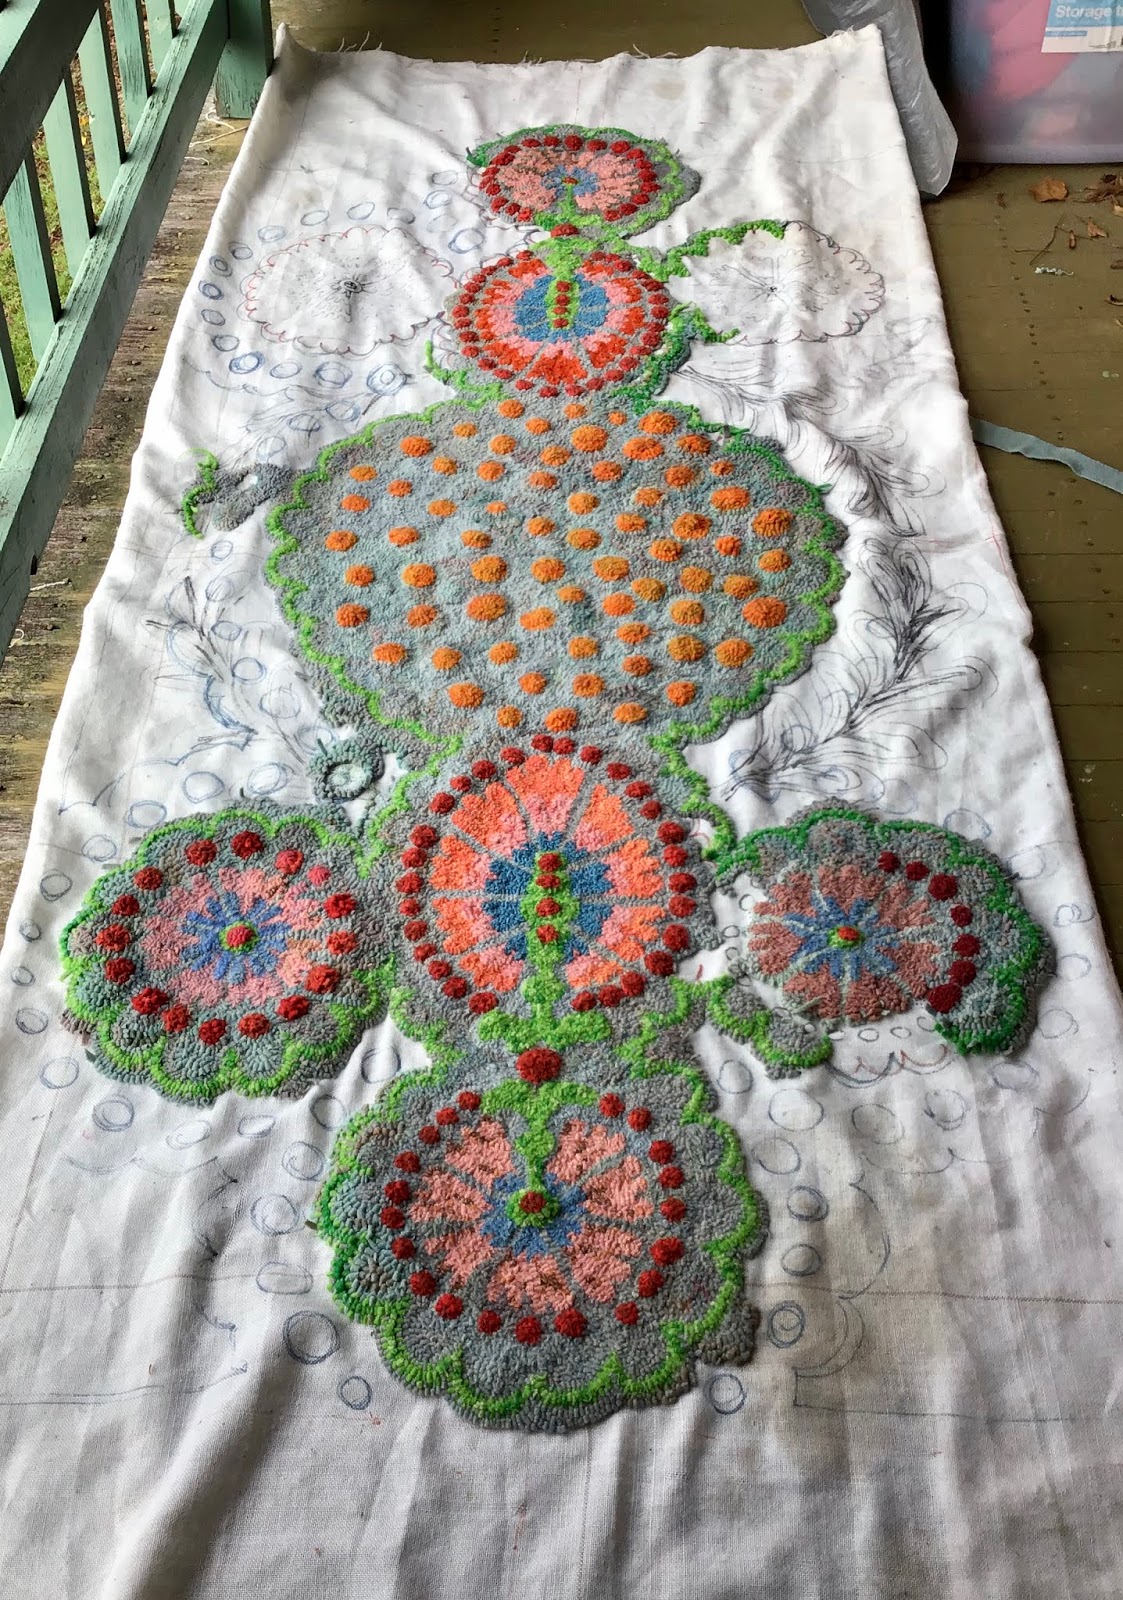
Here is the pattern for my Blossom Stool cover.

Blossom’
By Robyne Melia 2013 ©
This a sweet little hooky project for you, it’s just a kitten really and not a very difficult task I should think. I’ve not decided whether to make mine into a cushion, or add borders around and make a little floor rug? Hmmm

The first couple of cats I remember having (as a child) were named Blossom. These days I call my daughters and my little kitty grand-daughter ‘Blossy’. Maybe, as I think of it now, Mum didn’t give the cats’ a name at all, and they were known by the simple endearment of ‘Blossom’. Aw! Prrr.

The shading key is a little ambiguous I know, but if you look at some images of Tabby Cats, you’ll see what I mean. You can’t go wrong! I’ve used hand-dyed, checked, woollen blankets and some lovely hounds-tooth in the background. Scraps. You can use anything old clothes or wools (yarn) or T-shirting etc. My first Tabby Cat (not Blossy) was all pinks and reds with tartan kilt hems and stretchy cardigans.

For Your Blossom You Will Need:
·       At least 70cm / 28” square of Primitive Linen, Hessian or Monk’s Cloth.
·       The same of Non-Stretch white Tulle.
·       A Permanent Marker.
·   Scraps of fabric. The rule is that you’ll use 4 x the finished surface area for each colour. So, not too much! And with Tabby’s, you can ad-lib loads.
·       A Hook.
·       Some kind of Hooking frame, or a quilt frame or even a tapestry frame.
·       Scissors, a rotary-cutter, magic mat and ruler or a Strip Cutter.
·       A cup of tea and preferably a cup cake with pink icing.
                          
So, I have to admit right from the start that I forgot to put Black &White in my key! Just for the pupil and the highlight in the eyes. What was I thinking? I’ve run out of the blue I used for the eyes too, so it’s not in the picture (sorry), but you can figure that one out for yourselves, of course. I have faith in you.

Using the checked blankets for dyeing, I’m left with darker and lighter parts of each piece. Depending on how you cut your strips, you can vary the depth for any given area or let it fall where it will. In the ears        , I’ve used darker parts of the fabric.

My darling One True Love would say you (meaning myself) ought to print out a couple of spare patterns, and go at it with your coloured pencils or water-colour paints and I have no real reason to argue with that. Better still, give them to your little ones and see what they come up with!

OK...:

What you need to do now is:
·     Print out your Purrrfectly Free Pattern, then, get the outline drawing blown up from A4 to A3 size. This will bring it to the size of my own piece (30cm / 12inches across, plus ears), but you might like to make the cat image larger again. The very first thing to do after this is fix up where the circle doesn’t fit on the paper by measuring out from Blossom’s centre-point on her nose (all cats are called she in our house, cat’s mother or not). You’ll need to graft some extra paper onto the sides.
·       Now lay your Tulle over the pattern and pin or sticky-tape it to secure it. Then trace the pattern, with your permanent marker, onto the tulle (I put a layer of Cling Wrap in between so I don’t ruin my pattern original). Take your time.
·       Next step is to lay your tulle pattern over your Linen or Hessian or Monk’s Cloth, pin in place and carefully draw the lines onto the ground cloth. Clever huh? An oldie, but a goldie. Again, take your time.

·       You can zigzag the edges of the cloth at any point and it’s a good idea.
· Stretch your cloth taut, over your frame. This is the frame I use: http://www.ausrugcrafters.com/default.html. Other types are available as well (loads and loads of types). 
    Note: I just made this: https://judytaylor2013.wordpress.com/2015/08/31/how-to-make-your-own-spiffy-rug-hooking-frame/ only I made it taller. When I say I made it... I mean the One True made it. Obviously.

·       Now it’s time to cut some strips (around 1/4’ or 6mm wide). Again, I squeezed a Cutter out of a recent birthday, although it was a bit spendy! http://www.ebay.com/bhp/rug-hooking-cutter. A rotary cutter works just fine and so do good old scissors. Some people prefer scissors because the result is less uniform. My cutter is adjustable so I can vary it.

Here’s a little run through of rug-hooking:
Place one hand on the finished side and the other on the reverse side of the hessian, whilst holding the fabric strip on the reverse side (underside).
The hook is always worked from the top side. Push the point of the tool through the hessian (push it right in, so a good-sized hole is made by the thicker part of the shank) and pull a loop of fabric strip through. Repeat the process moving in the desired direction until either the end of the fabric strip is reached or the colour area is filled. The beginning and ending tags stay on the top of the fabric. When you start a new strip (everyone calls them worms), pull the ‘tag’ up in the same hole as the previous, so it’s not alone and lonely. So it sits snugly.
The loops should be close enough to sit comfortably side by side, touching but not crammed. But, just have a go and play is my advice. After an hour you’ll be hooking like a pro! (I'm obliged to crack that Dad joke, sorry).

Try watching: http://rugmaker.co.uk/hooky_rugs.htm or http://www.youtube.com/watch?v=JCVaRxyQ-jo. These are two of the best video tutorials online and make life so much easier.

(If you live in Victoria, Australia, then come to one or all of our get-togethers! We eat too much, talk just enough and share everything we’ve learned. It’s a lovely thing to do. You’ll find a place and add to the mix no matter where you’re at, whether you’ve not tried rug-making before or have years of experience. Just send a message via http://victorianrugmakers.blogspot.com and we’ll let you know where we’re meeting, or help in any way we can. Look at the blog while you’re there too.) Or (better because you will most certainly be noticed) email me at r.m.square@bigpond.com.

RightLet’s do this thing: 
1st of course, grab your tea and your cup-cake. Plump up a pillow for your back and I hope you have your slippers on or there’ll be trouble. Sometimes a sweetie-pie movie is nice, in the background, I find.

·       Start with the eyes. Work the background section around the eyes first, to secure your shape. Nextwell, I did the blue first and then the pupils, because otherwise, my pupils threatened to take over the world. The eyes are small and quick to do, so if it’s not working, pull it out and do it again. The eyes are the whole mood, so it’s best to be happy.

·       Note: You can have a little practice run (if you’re a little bit nervous as a first-timer) by filling in some of the bigger blocks of Tabby.
·       Next, put in the nose and mouth line.

·       Now you just have to play. My only advice is to complete one section at a time, or you’ll forget where you were up to, like I kept doing. Again, these Tabbies are very forgiving in their stripeyness, so don’t fret! Not even a little bit! Refer to your pictures and don’t forget to drink your tea before it goes cold.

I’m trying to decide whether to make Blossy into a cushion or keep adding around the circle to make a smallish rug, for my grand-daughter. Probably a cushion. So, that being decided (right this moment, yes, mid sentence), I’ll use a colour like the Hessian, since it looks quite nice. Then, Always, ALWAYS use velvet for the back. It’s a rule. A rule for snuggling.

          NOTE: If you have any difficulties, please email me. I need to know so I can make it clearer, and besides, I love the chit-chat. And send me a picture huh?

          Good luck Blossoms.

X Bobby aka Robyne

P.S. This design remains the copyright of Robyne Melia. It may not be used for commercial puposes, although finished Blossom’s may be sold for charity fundraisers with love. 


P.S. I ended up making a stool cover, with pom-poms around the underneath.
Also, on the side bar on our blog (http://victorianrugmakers.blogspot.com) you'll see 'Tutorials' and ''Rug Making Supplies'  links. Go see.

Saturday, September 07, 2019

Gembrook Quilt Fair & Rug Hooking Demonstration Extroirdinaire

Anne and I (Robyne) braved the hail, wind, rain and freezing cold to get up to beautiful Gembrook for the CFA Quilt Fair. A mini stitches and craft type (indoor and cosy) event with loads of stalls and a raffle, in which Anne took 4th prize. She won a gift voucher with enough in it to purchase batting for a new quilt. We also were visited by old and very dear friends, whom we hope to snaffle for rug days and more chitter chatter.
Quite a few ladies were keen to begin rugging. It seems that people have had it earmarked for the future (which encroaching age makes you realise is now). This also was my story when I first met the gals.


The hall had three large canvas works with local themes. Also were what appeared to be children’s needleworks. Love the skate ramp seen in one of them!

A happy mess of fluff.

Go Anne!!
Our next get together is at Anne's on Sunday September 29th. The day after the grand final. Let us know if you want to come on 0410876096. Leave a message if I don't pick up!
Quite a few people picked up a copy of Miriam's brilliant book!


Katherine's and my magpies.